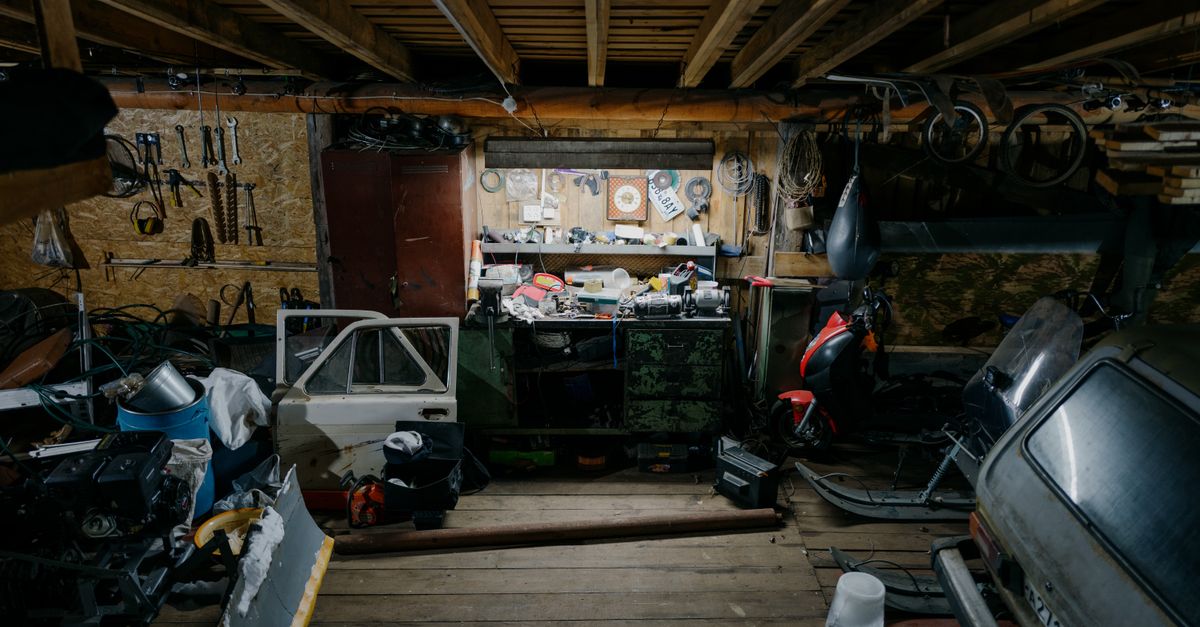
The garage. For many of us, it’s not just a place to park the car; it’s the catch-all for everything that doesn’t have a home elsewhere. Tools, sporting equipment, seasonal decor, half-finished projects, forgotten hobbies – they all converge into a chaotic landscape that feels utterly overwhelming to tackle. You stare at it, take a deep breath, and then… walk away, promising to deal with it later. I’ve been there. My own garage once held the dubious honor of being the most formidable frontier in my home’s battle against clutter. It wasn’t until I stopped seeing it as one giant, impossible task and broke it down into manageable, strategic steps that I finally reclaimed the space. This isn’t about perfectly organizing everything in one heroic weekend; it’s about a phased approach that actually works, designed for real life, not a magazine spread. What truly changed everything for me was adopting a systematic, zone-by-zone approach that acknowledges how we actually use – and abuse – our garage space.
Key Takeaways
- Break the garage into small, distinct zones to avoid feeling overwhelmed and maintain momentum.
- Designate a clear staging area for sorting items to prevent creating new piles during the declutter.
- Prioritize a specific type of storage system (shelving, wall-mounted, cabinets) for each zone’s main function.
- Establish a ‘return by end of day’ routine to prevent new clutter from accumulating after the initial cleanout.
Define Your Garage Zones Before Anything Else
The mistake I see most often is people treating the garage as a single, monolithic entity. This is the quickest route to burnout. Mentally, it’s just too much to process. Instead, start by drawing a simple, rough sketch of your garage and segmenting it into logical zones. Think about how you wish you used the space, not how you currently do. For instance, my garage is split into four primary zones: Automotive (car supplies, maintenance tools), Workshop (DIY tools, hardware), Seasonal (holiday decor, camping gear), and Sporting Goods (bikes, balls, outdoor toys). Even if your garage is small, create these distinctions. You might have a ‘Tool Wall’ zone, a ‘Gardening Corner’ zone, and a ‘Recycling Station’ zone. The point is to create boundaries. When you tackle the ‘Automotive’ zone, you are only dealing with items that belong in that zone. Everything else is ignored for the moment. This compartmentalization makes the task feel finite and achievable, providing crucial psychological wins as you complete each small section.
In my experience, trying to do a whole-garage sweep just leads to moving piles around. By focusing on zones, I could see tangible progress. One Saturday, I spent an hour just on the ‘Workshop’ wall, sorting through screws and nails. The next weekend, I moved to the ‘Seasonal’ corner. This allowed me to tackle the project in digestible chunks, fitting into my actual life rather than demanding a full weekend overhaul. Without this clear delineation, I’d get lost in the sheer volume of stuff, inevitably quitting halfway through and feeling even more defeated.
Establish a Staging Area (And Use It Religiously)
Before you pull a single item off a shelf, identify a clear, temporary staging area. This could be a section of your driveway, a cleared patch of garage floor, or even a large tarp. This area is critical because it gives you a dedicated space to process items without spreading clutter to other parts of your garage or home. The process is simple: take items from one zone, bring them to the staging area, and sort them into categories: Keep, Donate/Sell, Trash, and Relocate. The ‘Relocate’ pile is for items that belong in another garage zone or even inside the house. Do not, under any circumstances, allow items to linger in limbo. Every item must be assigned to one of these four categories.
My first attempt at decluttering a garage involved just moving things from one wall to the middle of the floor, then to another corner. It was a disaster. I ended up with a giant, unsortable mountain. What changed everything for me was the discipline of the staging area. I’d grab a small batch of items from a shelf – say, five gardening tools and three old paint cans – and bring them to my designated tarp. There, I’d decide the fate of each. That old rusty trowel? Trash. The good pruners? Keep. The half-empty paint cans? Relocate to a hazardous waste day collection. The critical part is processing them immediately, then returning the ‘Keep’ items to their newly organized home within their zone.
Implement Smart Storage Solutions for Each Zone’s Purpose
Once you’ve decluttered a zone, it’s time to equip it with appropriate storage. This isn’t just about throwing things into bins; it’s about selecting storage that aligns with the items’ function and frequency of use. For the Workshop zone, think pegboards for frequently used tools, clear drawers for small hardware, and sturdy shelving for power tools. In the Automotive zone, consider wall-mounted tire racks (if you store winter/summer tires), overhead storage for infrequently used car parts, and small bins for detailing supplies. The Seasonal zone benefits from clear, stackable plastic bins (labeled, of course) that protect items from dust and pests. Sporting goods might need large mesh bags for balls or vertical racks for bikes and skis.
What changed everything for me was realizing that one-size-fits-all storage doesn’t work in a garage. For years, I just bought more plastic tubs. But my gardening tools needed to be visible and accessible, not buried. My holiday lights needed protection from moisture. Investing in specific, tailored solutions for each zone meant items were not only tidier but also easier to find and put away. This dramatically reduced the ‘friction’ of keeping the garage tidy. When it’s easy to put something away, you’re far more likely to do it. For example, once I put up a pegboard for my most-used hand tools, they stopped getting left on the workbench, because their home was now obvious and accessible.
The “Return By End of Day” Rule to Maintain Order
Decluttering is a one-time event; maintaining order is a continuous process. My personal rule for keeping the garage tidy is simple: everything that leaves its designated spot must be returned by the end of the day. This applies to tools used for a quick DIY project, a ball retrieved for a game of catch, or a bag of compost taken out for the garden. This small, consistent habit prevents new piles from forming. It’s the micro-routine that stops the macro-mess. It might feel like a chore at first, but it quickly becomes second nature, saving you hours of re-decluttering down the line.
This rule was a game-changer for me. I used to rationalize leaving tools out, thinking, ‘I’ll use it again tomorrow.’ ‘Tomorrow’ often meant next weekend, and by then, the tool was buried under other things. Once I committed to returning everything to its designated home each evening, the garage stopped slowly creeping back into chaos. It took conscious effort for about two weeks, and now it’s just what I do. It’s not about being a perfectionist; it’s about acknowledging that small acts of maintenance prevent monumental tasks. This routine, more than any fancy storage system, keeps my garage functional and prevents the dreaded ‘overwhelm’ from returning.
Frequently Asked Questions
How long does it realistically take to clean a messy garage? It depends on the level of mess and your available time. For a truly messy garage, plan on breaking it into several sessions over a few weekends, dedicating 2-4 hours per session to a specific zone. Rushing through it often leads to incomplete work and a quickly re-cluttered space. My approach often spans 4-6 dedicated sessions over a month or two.
What if I have too many sentimental items in my garage? Sentimental items often need their own dedicated sorting session separate from the garage declutter. Create a ‘sentimental’ box during your decluttering process for items you’re unsure about. Once the garage is functional, set aside time to go through this box specifically. Ask yourself: Do I really need to store this? Does it bring me joy? Is there a better place for it inside the house?
What’s the best way to deal with hazardous materials like old paint or chemicals? Never dispose of hazardous materials in your regular trash. Research your local municipality’s hazardous waste collection days or permanent drop-off sites. Keep these items clearly labeled and stored safely until you can properly dispose of them. Designate a specific, temporary spot in your garage for these items, away from children and pets, until collection day.
Should I invest in expensive garage organization systems? Not necessarily. Start with functional, budget-friendly solutions like sturdy shelving, clear bins, and pegboards. Assess what works for your space and needs. You can always upgrade later. The goal is functionality and accessibility, not aesthetics for aesthetics’ sake. In my experience, the ‘system’ is far less important than the consistent habit of using it.
How do I prevent my garage from getting messy again after cleaning it? Consistency is key. Implement the ‘return by end of day’ rule for all items. Periodically (e.g., once a month), do a quick 15-minute sweep of each zone to ensure everything is in its place and address any new items. Don’t let small acts of clutter pile up; tackle them as they arise. This preventative maintenance is far less daunting than a full re-declutter.
Cleaning a messy garage doesn’t have to be a Herculean effort that consumes your entire weekend and leaves you exhausted. By breaking it down into manageable zones, using a disciplined staging area for sorting, investing in smart, functional storage, and implementing a simple daily return routine, you can transform that chaotic space into a tidy, functional extension of your home. It’s about building sustainable habits, not just chasing a momentary burst of organization. Start small, stay consistent, and watch your garage transform from a source of dread to a point of pride.